This is a re-post from a thread in the Suzuki Forum.

Total install time is 3-4 hours.
Step 1: Getting the Kit. I purchased a universal remote lock kit from eBay for around $60. It came with mounting equipment, 4 plunger type lock actuators, and a control box. There are many different kits out there, just about any should work. While one can use the normal screws for mounting the system, I replaced the metal screws with an actual Nut/Bolt style system.
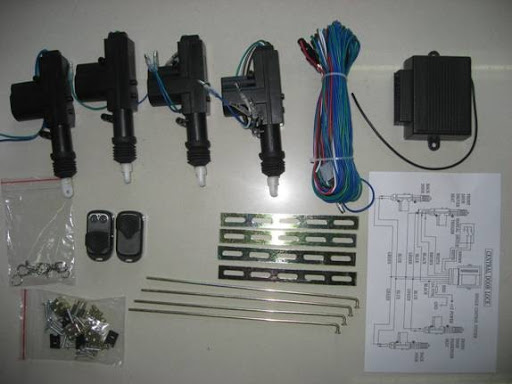
The kit, as it should be delivered.
Step 2: Remove the door panel. You only have to remove the door handle and pop the back half of the door covering and not the entire panel. This saves on time and figuring out how to get the window roller off. Just two screws and a couple of tugs and it pops right off. If you do remove the window roller and the door latch remember the door latch slides forward then off.
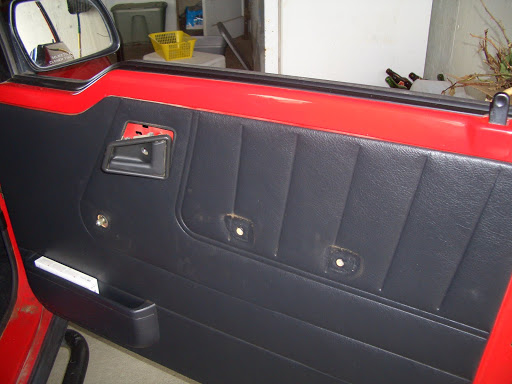
Quick and easy.
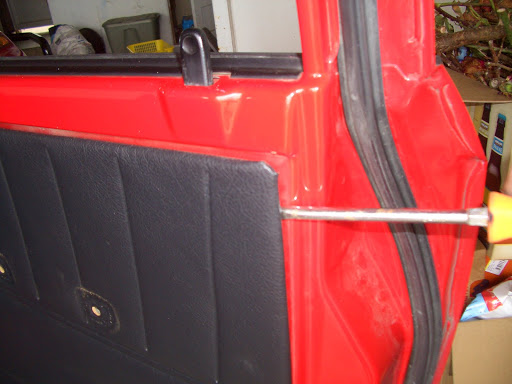
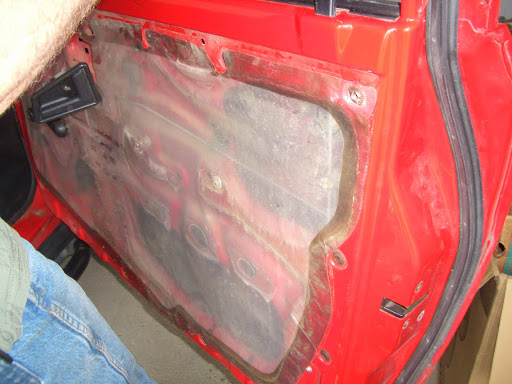
Step 3: Next you peel back the rain protector. If you're careful you won't tear the plastic and it sticks back into position afterwords.
It's full of stars...
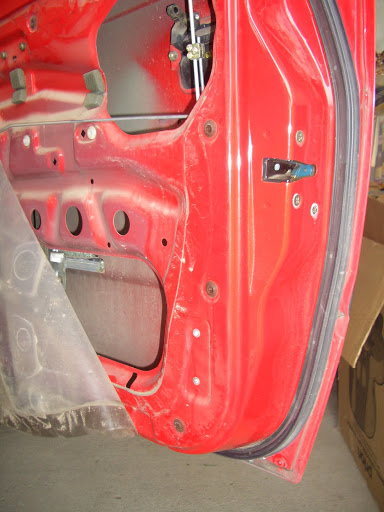
Step 4: Find a mounting position. While it comes with a mounting rail, I found a nice little flat spot on the bottom of the door. It looked like it would be in the perfect spot for the plunger to be mounted.
Step 5: Drill some holes. I just set the plunger in place and marked it from the outside, then drilled the two holes.
Step 6: Mounting. You can use the default metal sheet screws that come with the system, but I wanted something a little more solid. A quick search around the garage found a screw and nut replacement. Make sure you put the metal arm that attaches to the top of the plunger on before you mount it or you will have to take the plunger back out. But you will only make that mistake once...
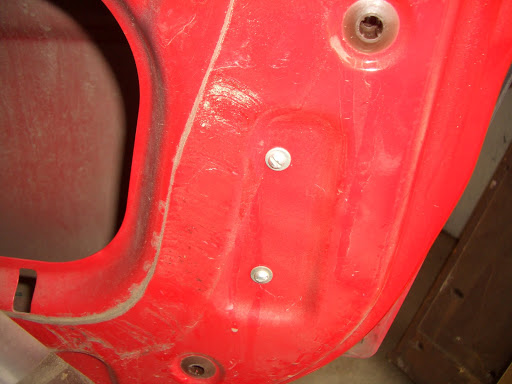
Here is the finished mount
Step 7: Attach the arm to the lock. Using the supplied clip you just attack the two bars (the one from the plunger and your lock and you're done. Make sure that the lock and the plunger are in the same position. I locked the door and pushed the plunger to the bottom just to be sure.
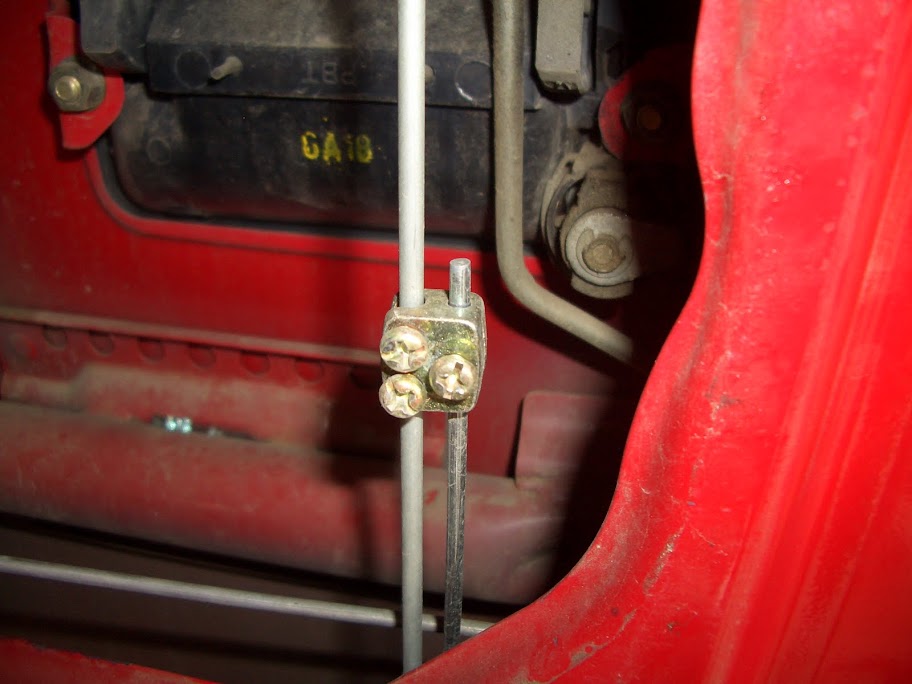
Shiny isn't it.
Step 8: Congrats, the easy part is done. Now you just have to do the wiring.
Wiring InstallationThis was a bit of a pain, mainly because there are no speakers in the door and thus you can't just follow some existing wires. The ideal method would be to pull your door off, drill some holes, put some grommets in place, and run your wiring. If you want to do this in your driveway, you can use my method.
Step 1: Find a place to run the wires. About 3/4 of the way down the inside of the door is an opening that is covered by tape. I decided to poke a hole in the tape and run my wires through there. On the tub side of the equation, I ran the wires in through an opening up near the heater, then down inside the body. I drilled a hole through the wall and used a small piece of wire to fish the cables out on the inside.
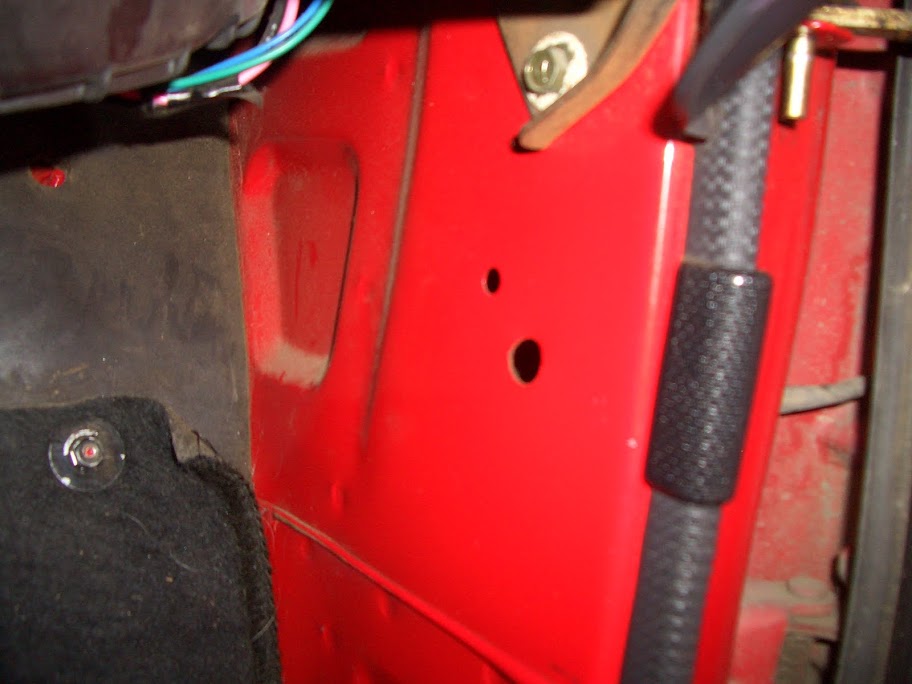
Wires go in the top, out the middle.
Step 2: Once I had the wires pulled out, I could easily fish them through the body to the outside.
Step 3: In order to avoid shorting out due to a lack of grommets, I taped up the wires with a few layers of electrical tape. I may go back and put a set of grommets in as well, but that is where a little more planning comes in handy.
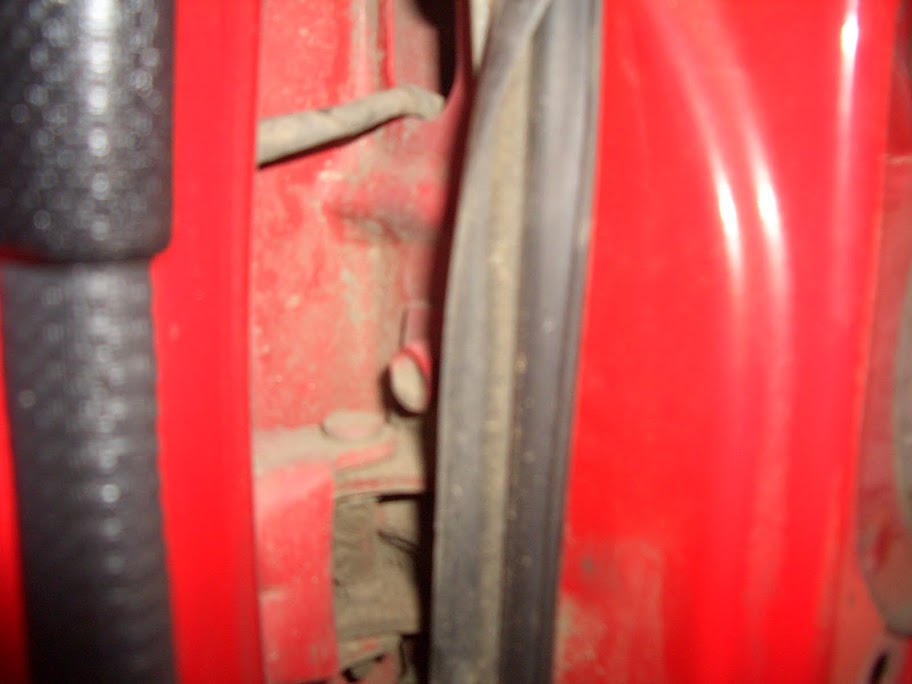
Wires pulled through and taped up. If I had pulled the door I could have drilled and grommeted both sides.
Step 4: After plugging in your plunger, put the side back on the door and screw on the handle. And thus you have the finished product, one fully wired door for electric locks!
Better then new.
Finished, now just plug the doors into whatever alarm system or controller box you have and you are done. Never again will you be forced to use the key to open your doors.
Wrap-up:For the driver's door, I tried doing something a little different using the existing grommet, and it didn't work so well, so I would do the drill and fish method again. Also, the kit's wiring was a little short. You might want to run your own wires and just patch into the controller box to keep things a little cleaner. It would also allow you to mount the box up under the hood instead of under the dash. Also, the kit I had did not have any mounting spots on the controller box. So I have it tucked up on top of my steering column zip tied in place. Locating a kit that has some tabs so you can make a bracket would be nice.
The tailgate was just as easy as the front doors. Just pop off the tailgate cover and bolt it in place. Only issue was getting the wires to the back door, but with the 3rd tail light there is already a place to run wires from the back passenger side into the tailgate and you can just chase those wires in. Having electric locks on a Daily Driver is a nice change, even if you can just unzip the window to break into the vehicle.
*Edit* - Took some new photo's, cut a few out. I'll take new pictures when I put locks in a 4 door.
