It was raining again today so I started off by painting the rack. I went and registered the trailer while the paint was drying.

By the time I got home, the rain was letting up.
I decided to start tearing more stuff off and fix any rust or rot I found. Then reassemble with only the necessary parts and maybe do a little prep and painting.
I pulled off the fenders and bumper.
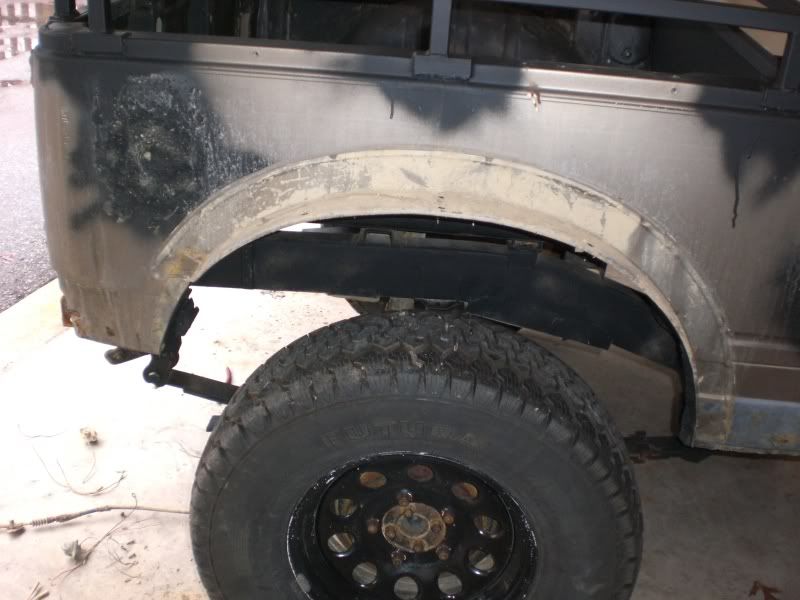
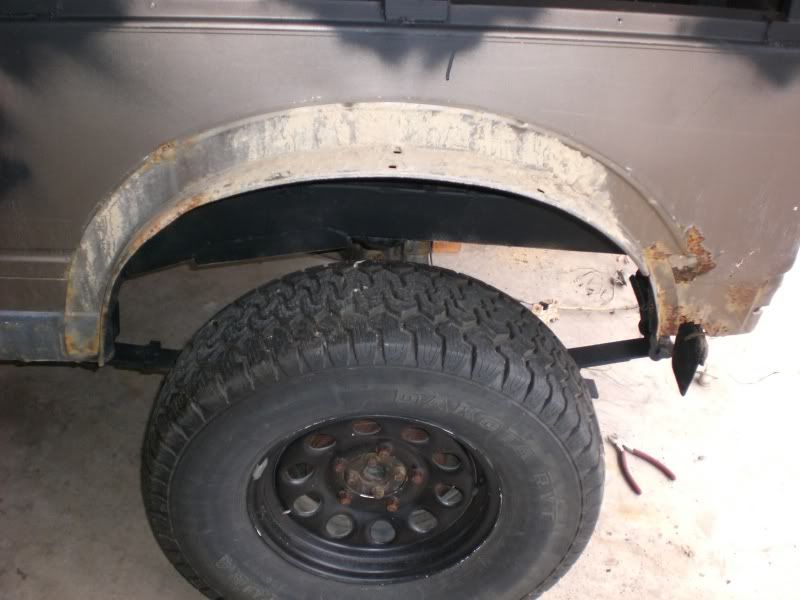
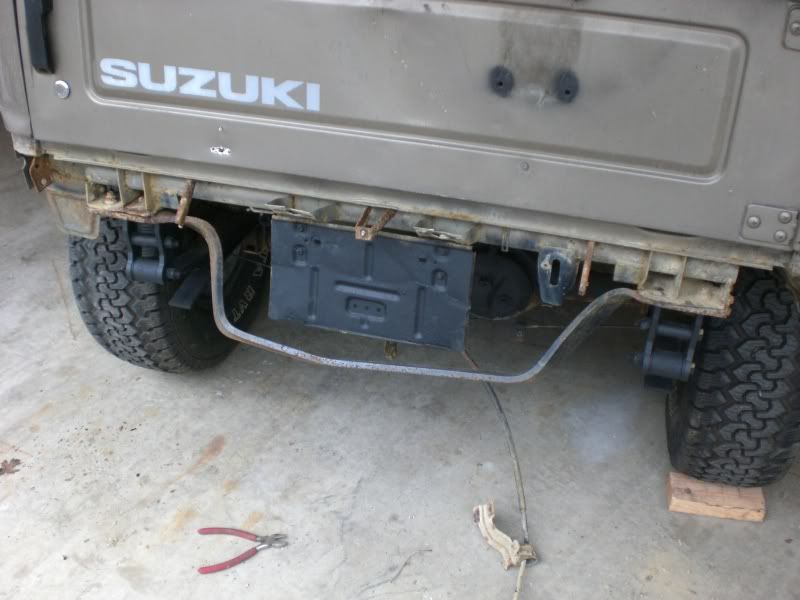
Found some serious rot behind the driver side fender and bumper surround.
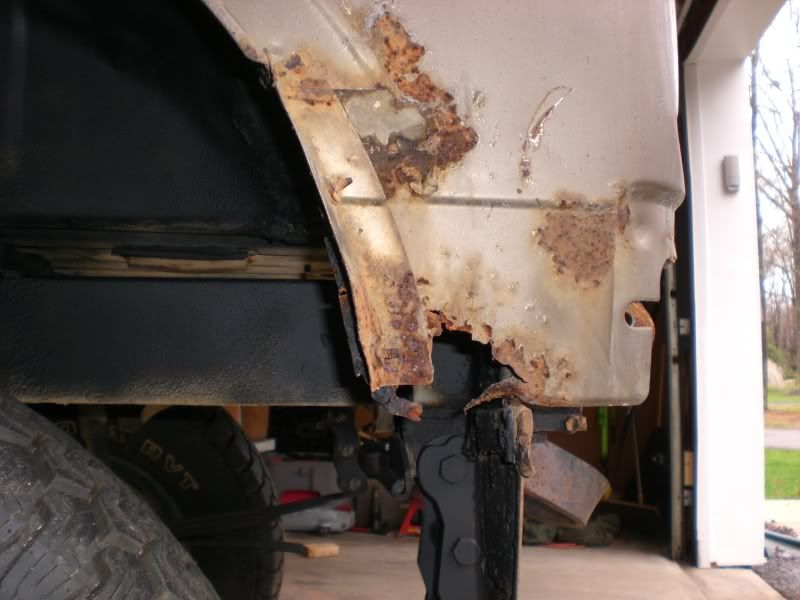
Decided to BUZZZ off what I didnt need and fix what I need.
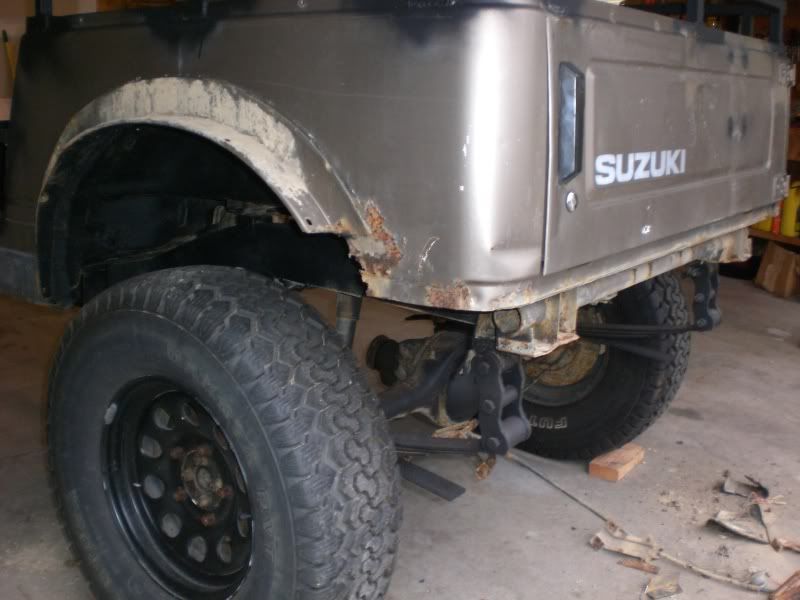
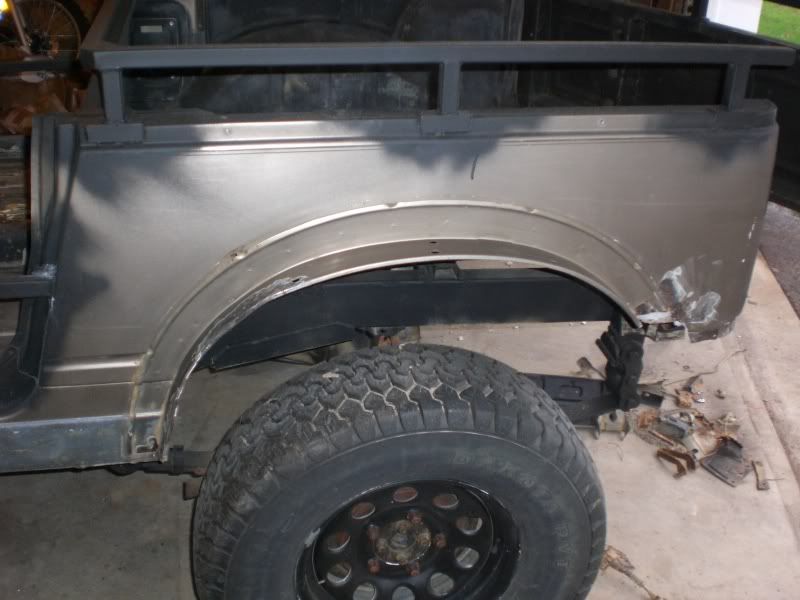
Same on the passenger side. (not the rot, but the trim job).
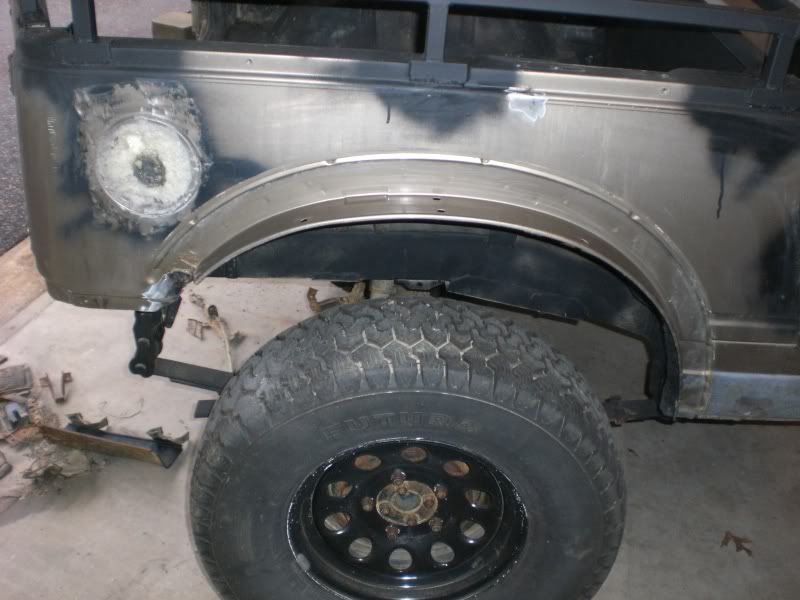
Trimmed the "bumper supports" and other junk behind the bumper.
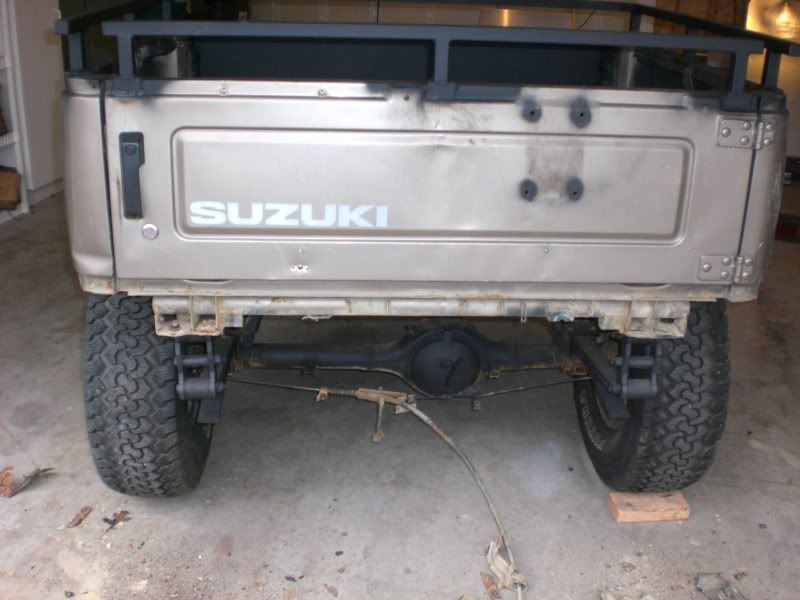
Spare parts (junk)
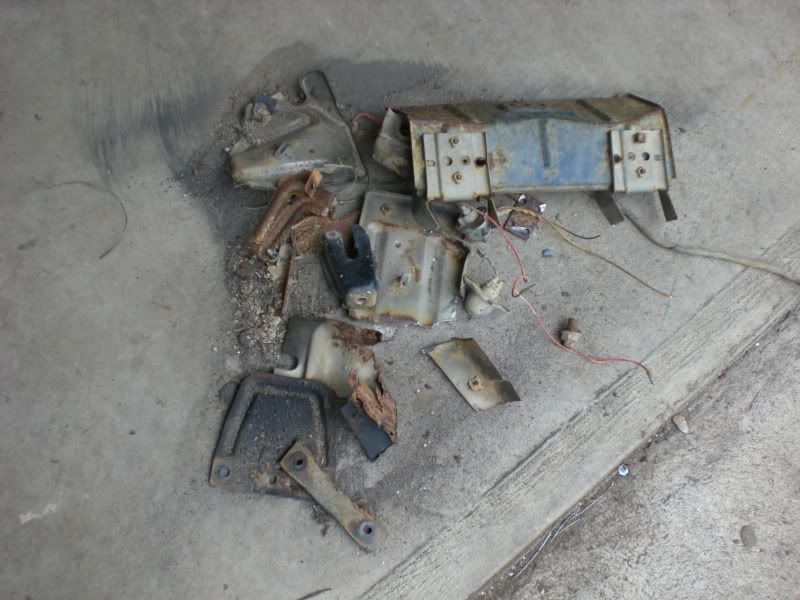
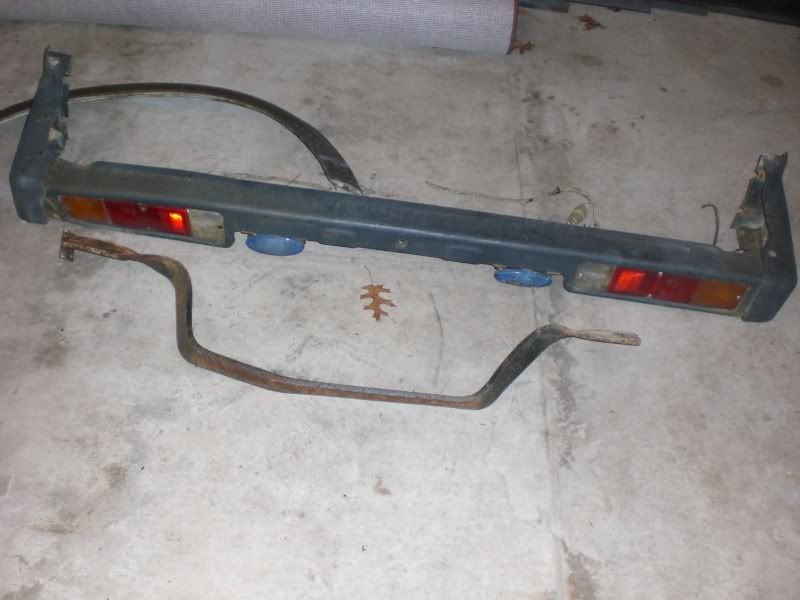
These trucks were not really built extremely sturdy. I think the average teenage girl could have bent the rear bumper my kicking it. The bumper supports were a joke.
I fought with the rust for a little while, sanded and cleaned everything up. Then I painted the bare metal. Since I had already scuffed the rest of the body (not much to it) I kept painting. I did the fender flares too while I was at it. I used some rubber trim moulding to finish off the lower portion of the body where I had to cut out the cancer. The fenders are still wet in this pic.
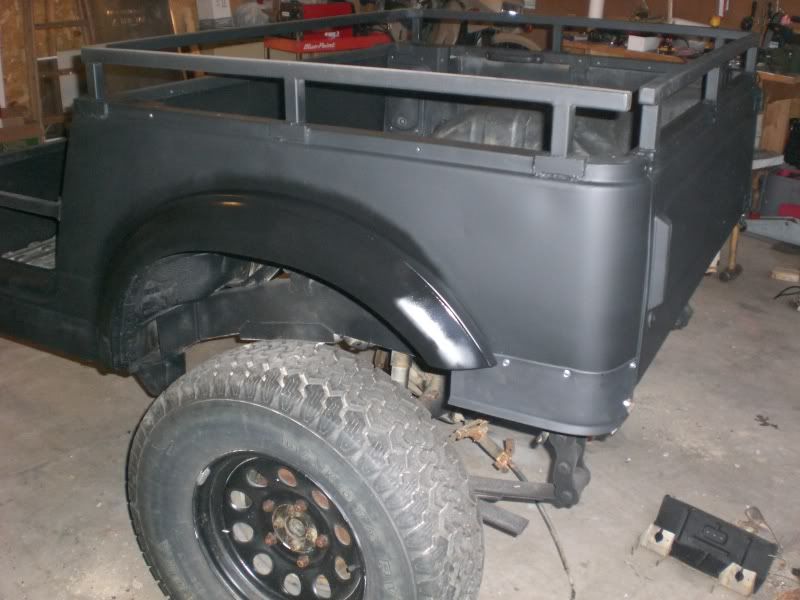
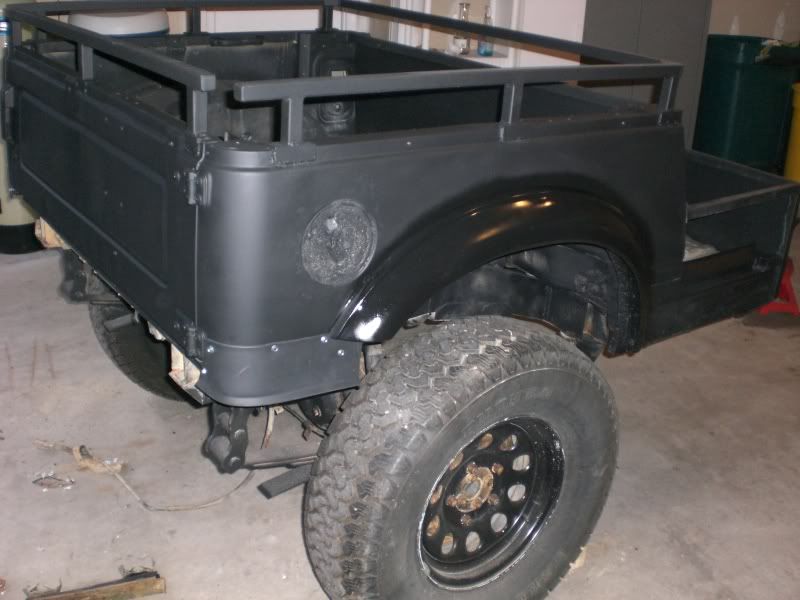
I will go back and resand the area around the fuel filler when I feel like breaking out the body filler. When I stood back and looked at the way it was coming along, I decided that it was time to make it street-worthey. This way, I can take it to get measured for the soft cover if I need to.
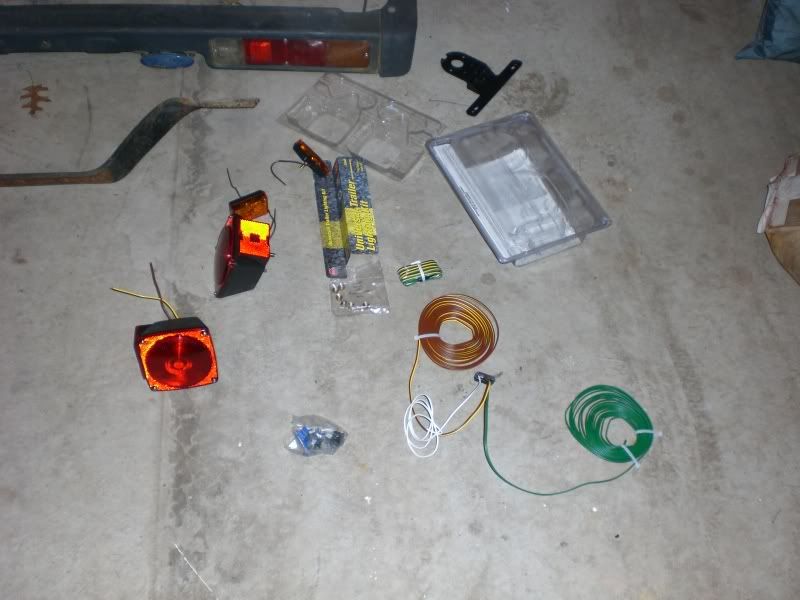
I installed the lights. I purchased these at walmart and I was happy doing so because they are actually made in the US !!!
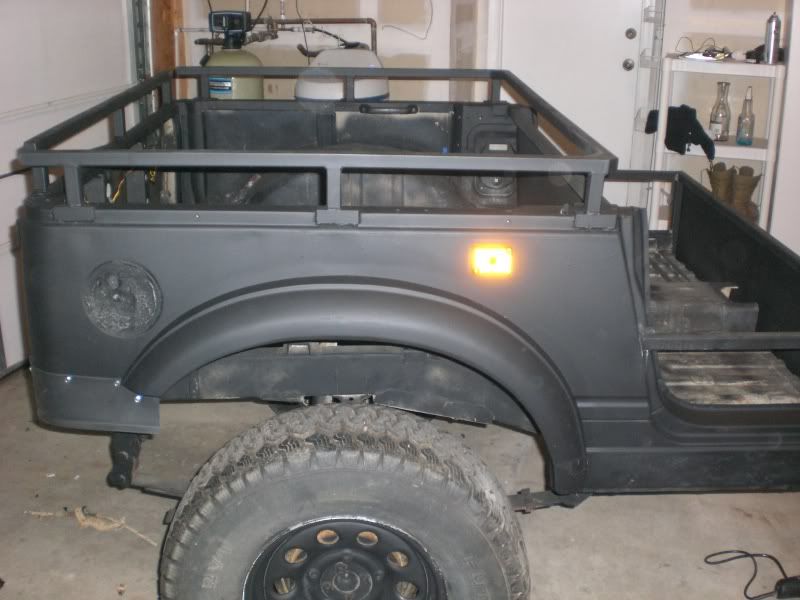
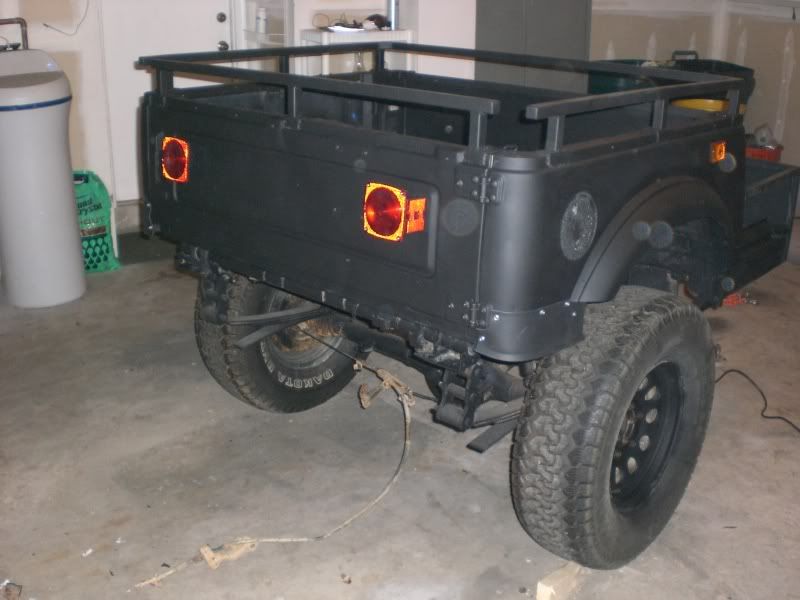
I installed my kick-a$$ custom safety chains. I went with a welded chain that is rated to 3900#. I really only picked it because it has an orange coating that I figure will fight back rusty-chain syndrome for a little while at least. I welded a link to the right side of the tongue and compensated by making the length of chain that will go the the left safety-chain attachment point a little longer. I did so because I located the wiring on the left side to line up with the connector on the tow vehicle.
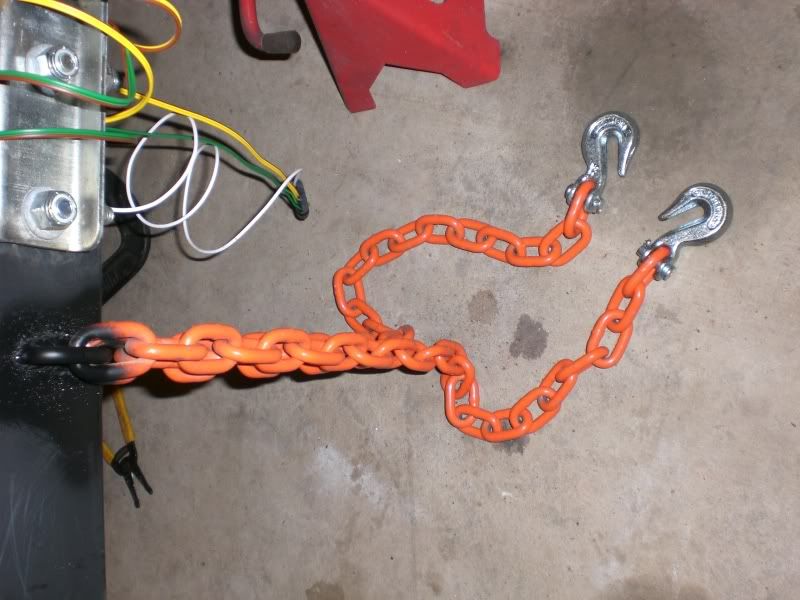
Here it is hitched up.
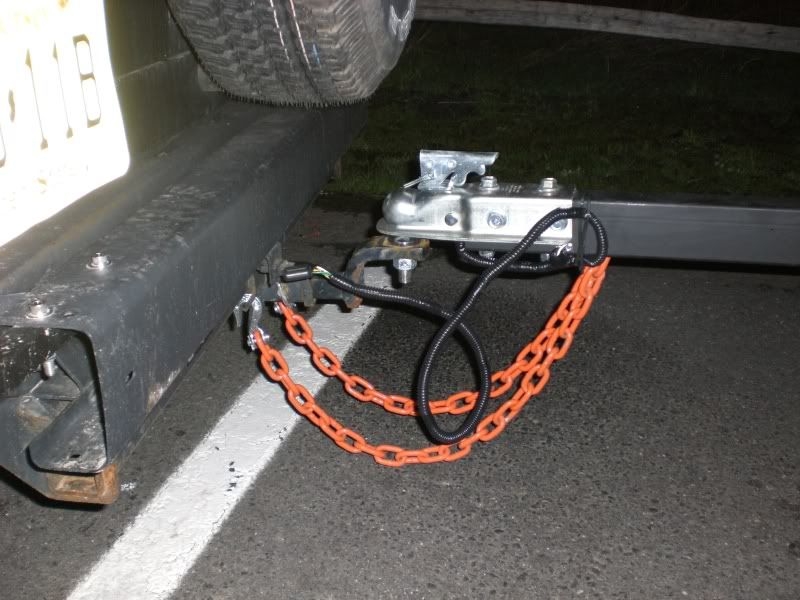
I used wire looms to protect the wiring for the lights and keep everything neat. This may not be the permanent location of the wires... not sure yet.
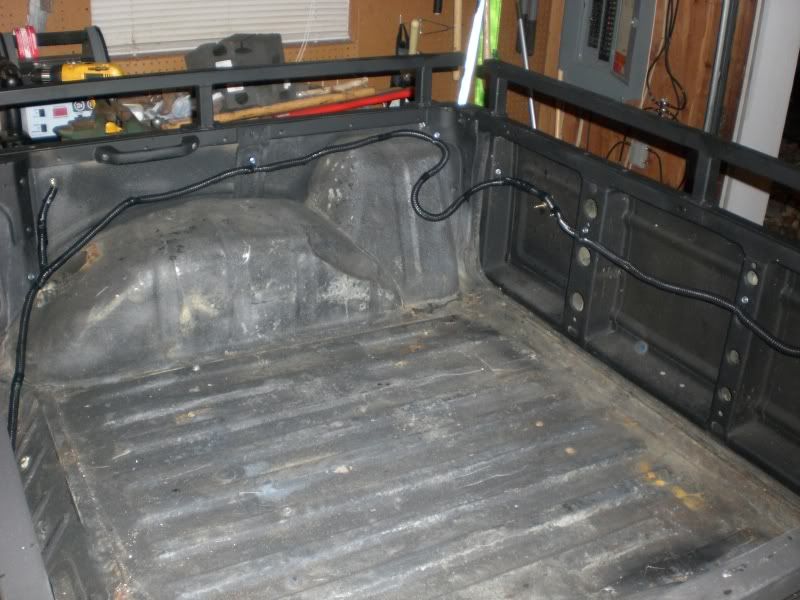
I also used another piece of rubber trim moulding to cover the rear of the bed under the tailgate where the bumper was. I will take a better pic of that tomorrow.
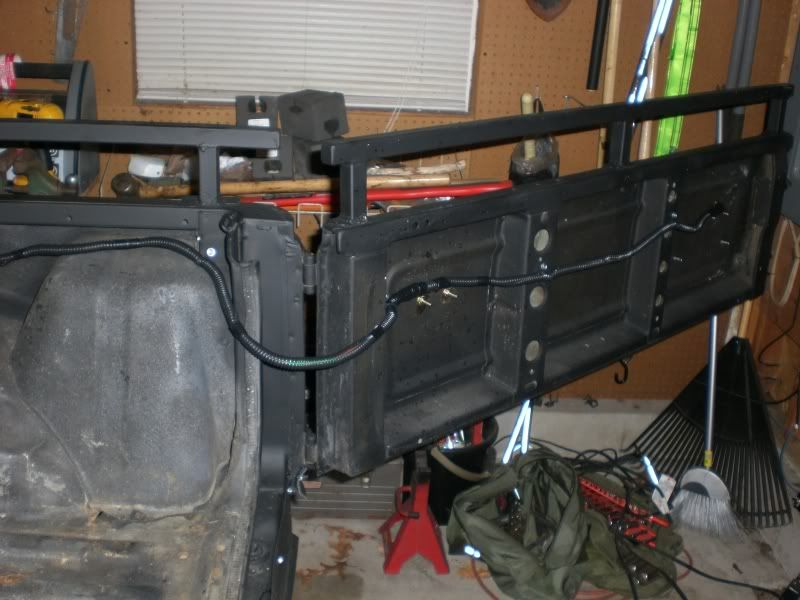
I have the ability to open the tailgate 180* so I compensated by leaving enough wire to do so. I am thinking about a fold-down counter or bench type thing on the tailgate (inside) to be used when the tailgate is open.
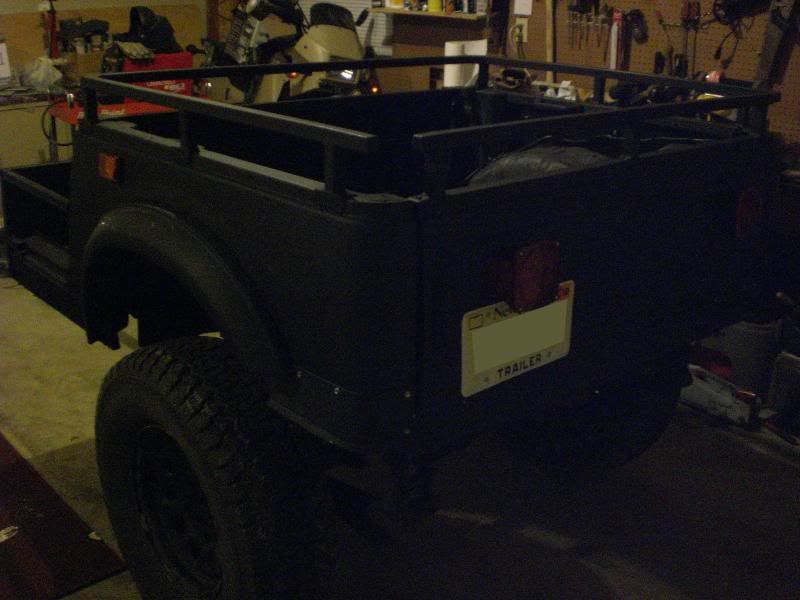
I tested out the lights (they worked), bolted on the license plate, and then took it for its maiden voyage.
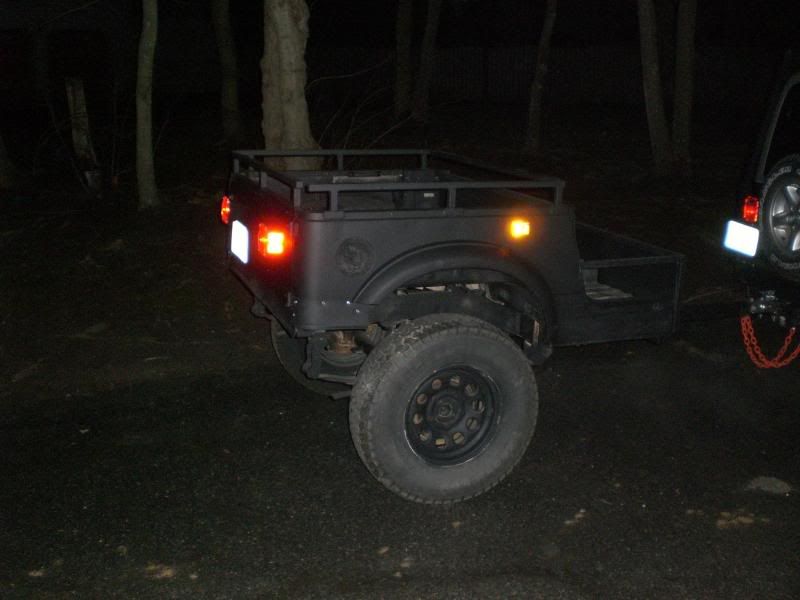
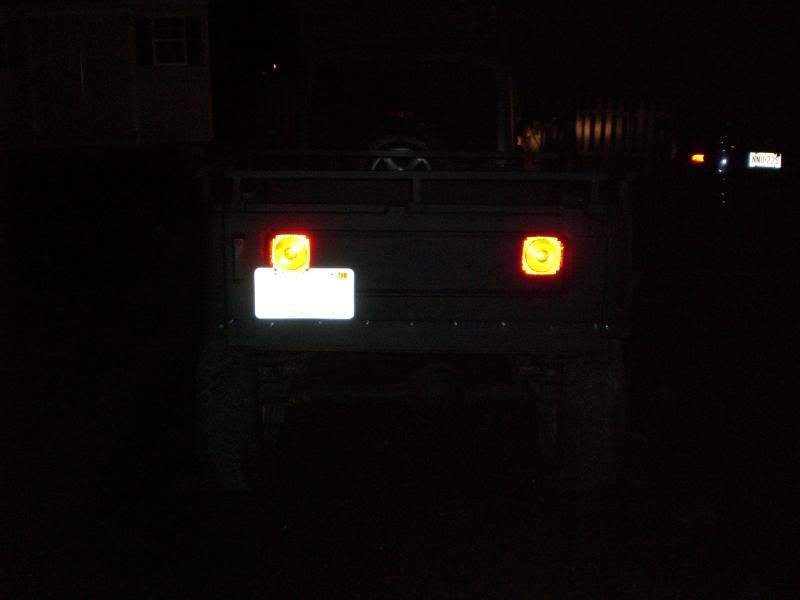
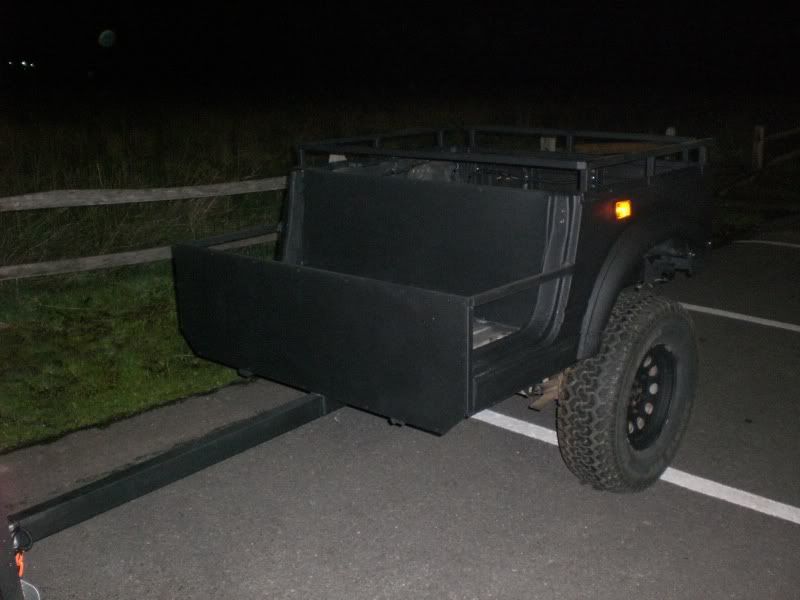
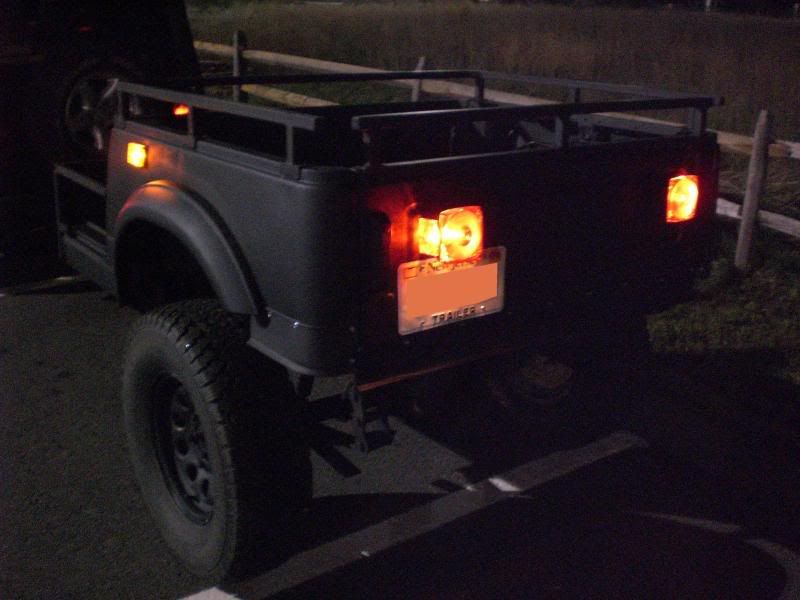
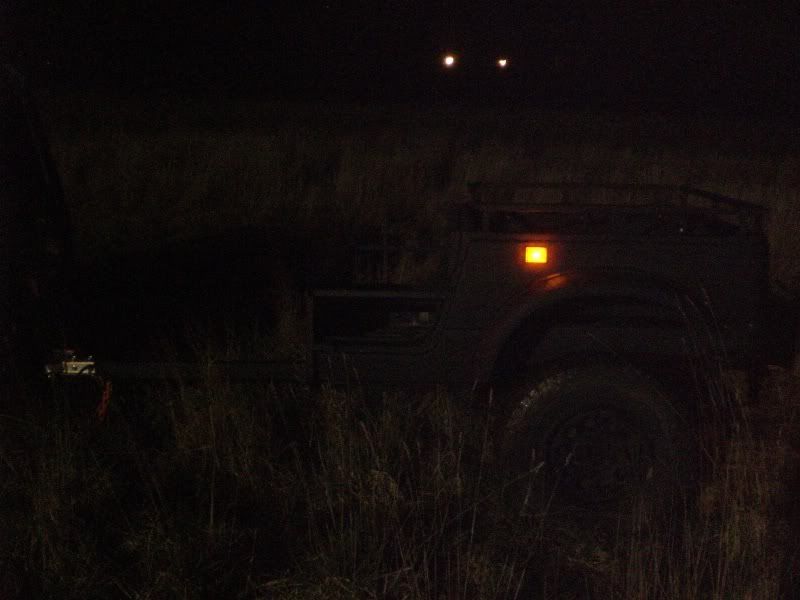
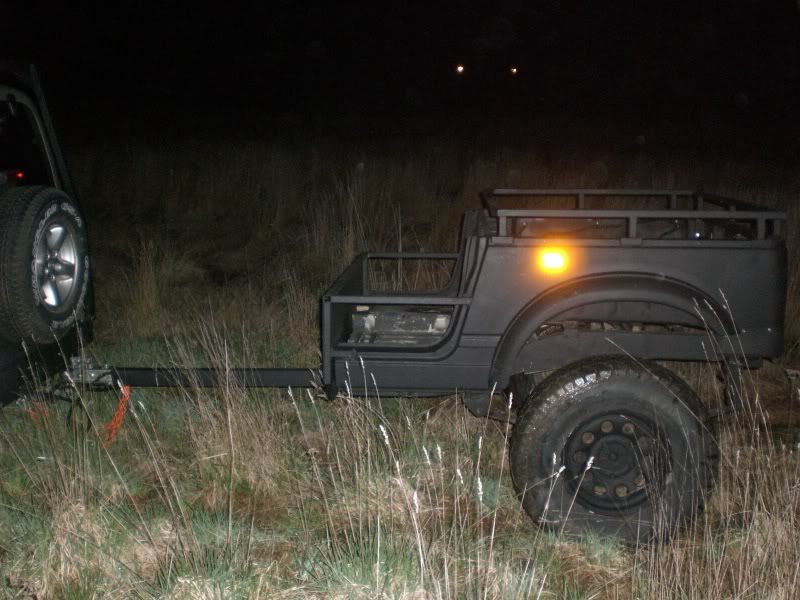
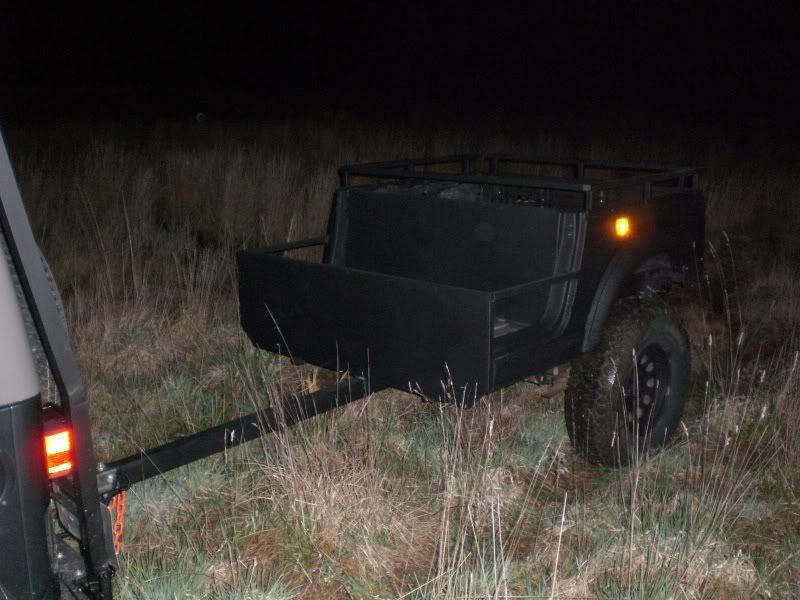
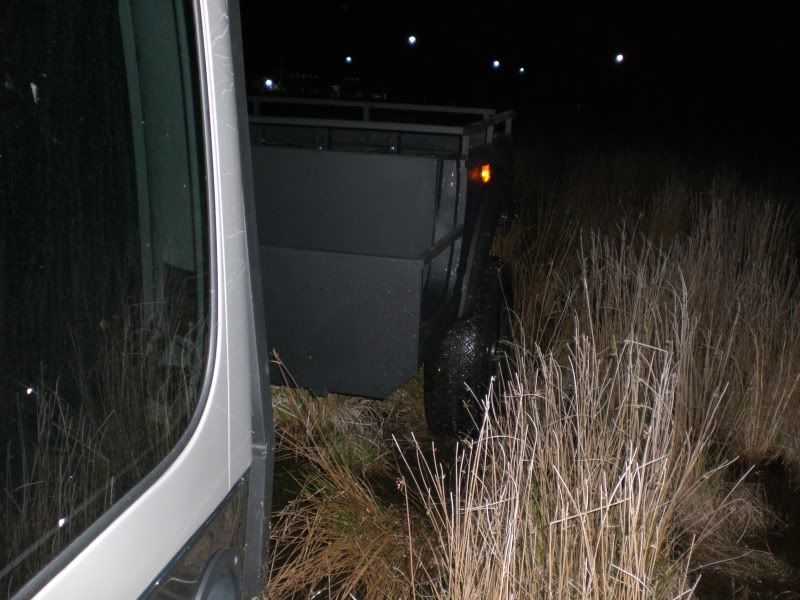
90* and no jack-knife contact with the jeep. My poor jeep is wearing its "little tires" today. Cant beat those michelins in snow, rain, and for gas milage.
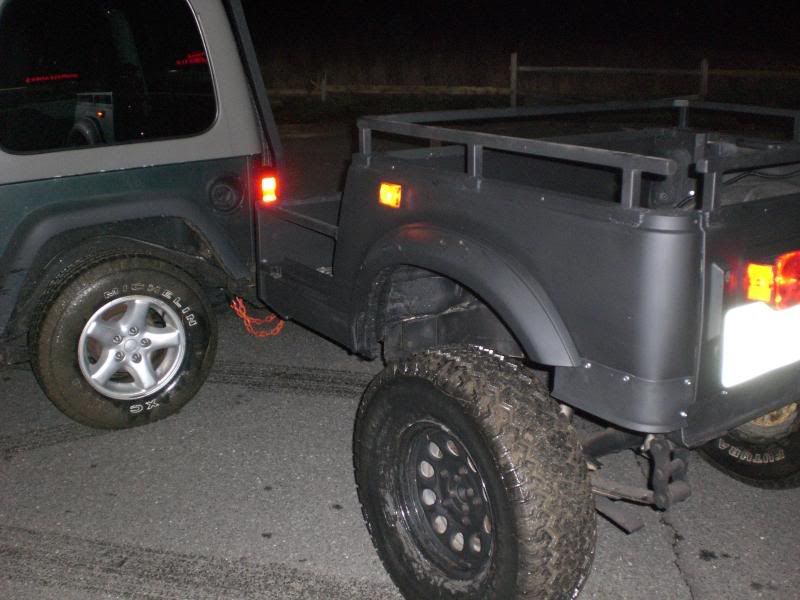
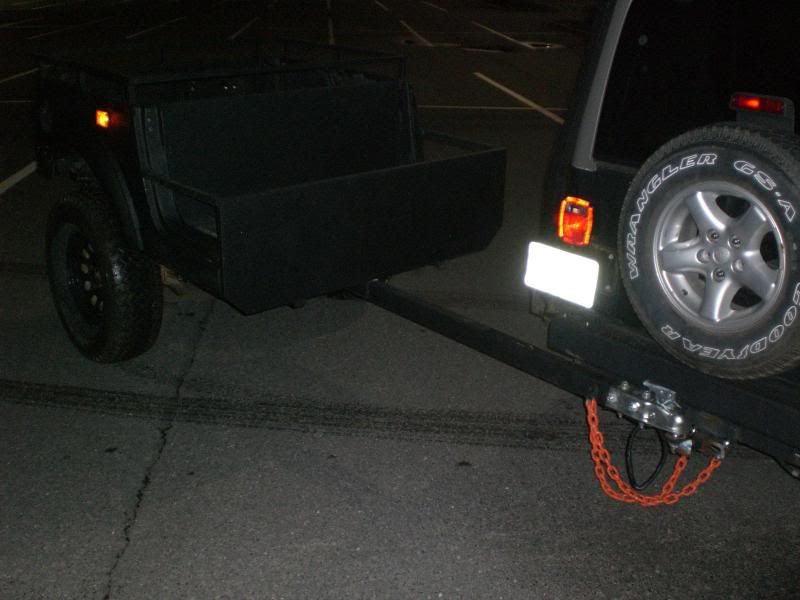
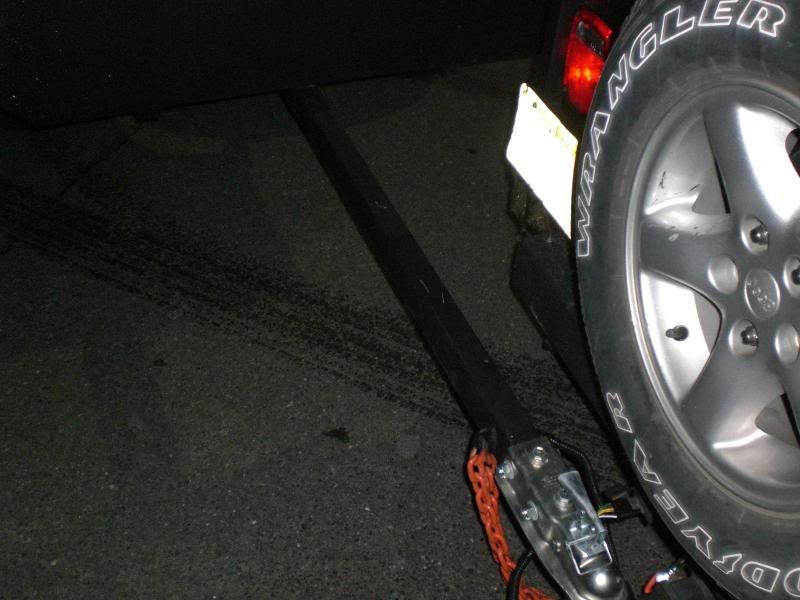
And my brain is starting to shut down (tired) so I parked it in the garage again until tomorrow and snapped a few more pics for my friends on the interweb

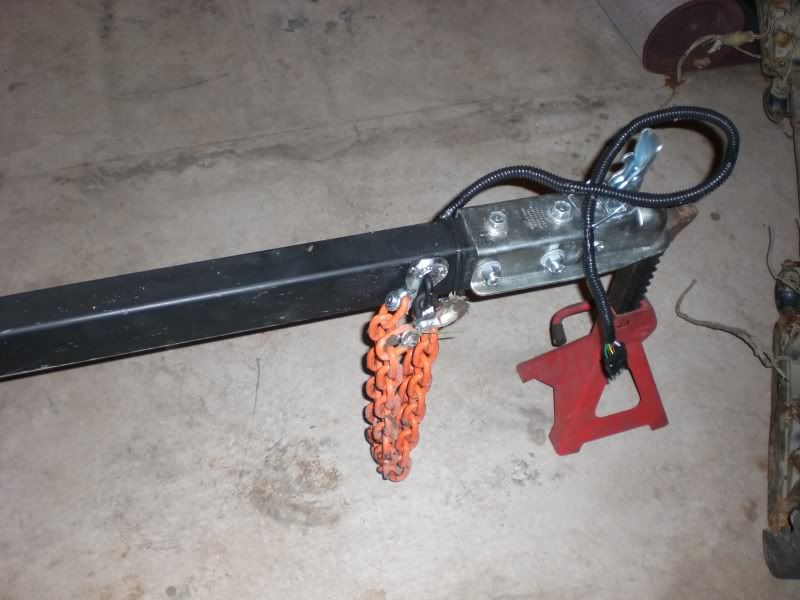
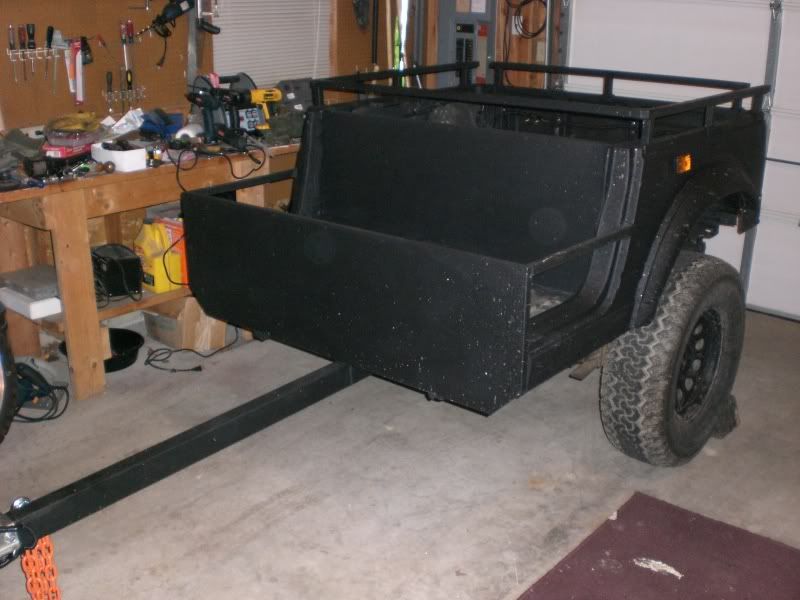
On my list of 'things to do' ...
Soft cover
Build a hand-brake or disable the brakes all together
Spray bedliner in the front and main compartments
Build a folding counter for the tailgate
Start arranging item-specific storage gizmos, compartments, etc.
Back-up light?
Cargo light?
Guard for differential pinion?
Roof-top tent platform?
