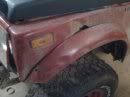
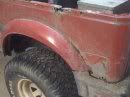
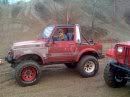
Well I bought a 90 Sammy off craigslist back in December for $400... It had spring over lift and 2 inch blocks, mismatch set of 32/11.50-15 half tread tires with 8in wide wheels on the front and 10in wides on the rear? wtf lol.... no top and it had LITERALLY 2 INCHES of mud INSIDE of it and could barely tell that it was red on the outside... no exhaust what-so-ever... but its a fuel injected 1.3 and 5 speed and it runs really well...
So after trailering it home the first thing i did was spend 2 HOURS pressure washing mostly the inside (found a few sweat shirts, half dozen floor mats, couple tow straps that had been tied back together, and lot of trash hidden in all the mud)
Then I made a full exhaust out of material that I had laying around and a free muffler
Re-set up the suspension and actually Welded the soa perches (should have seen the rear drive shaft angle because of the axle twisting up from them not being welded)
Then through away the 10in wheels and put a set of 8's that I had in the barn
fixed a couple leaky brake lines
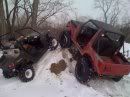
and to the Badlands in Attica Indiana (right down the road) I went for the first trip
And for the continue to the Sammy story!
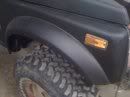
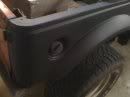
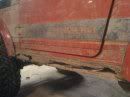
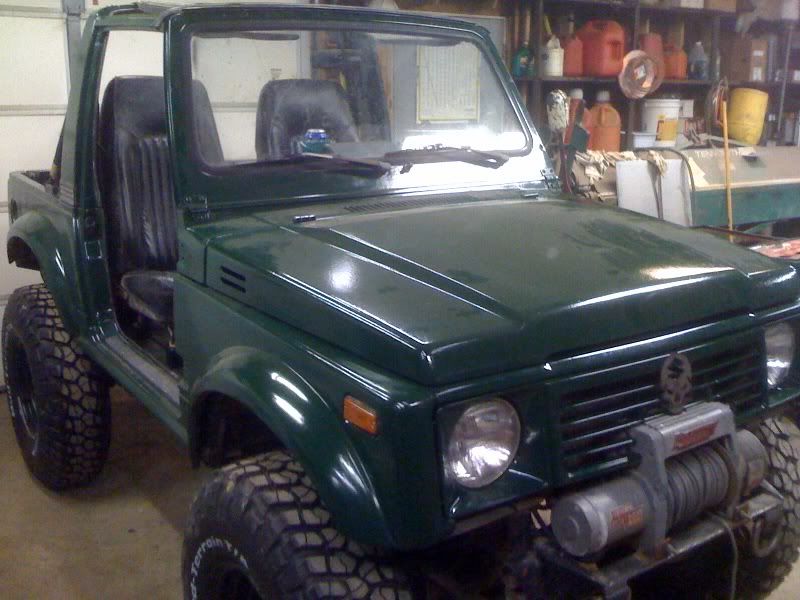
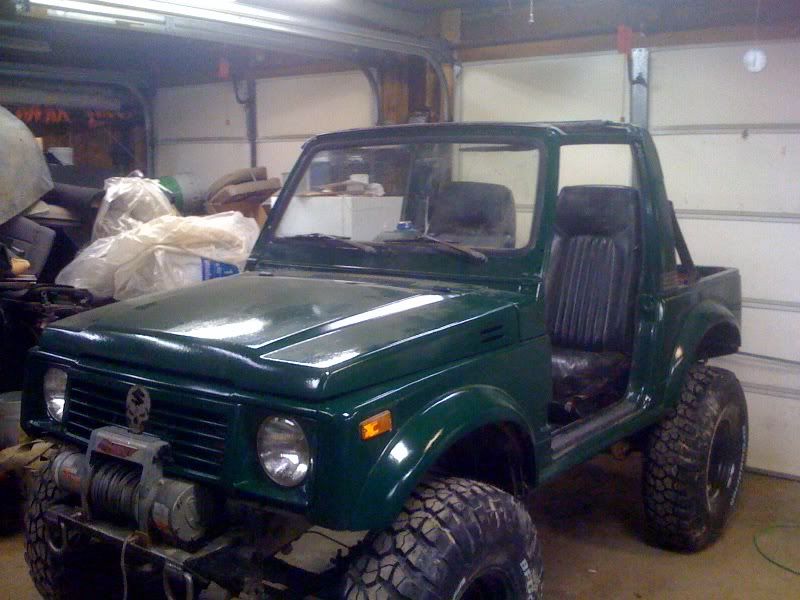
Now I have repaired pretty much all the rust everywhere... and it is now painted dark hunter green and bedliner interior
Brand new set of BFG mud terrain KN2's 33/10.50-15 on the 8in wheels
welded the F**k out of the rear end... I am sure you all know how small the spiders and carrier on these things are but I literally used 16- 7013 rods!...
made a set of extendable shackles kinda like the teraflex revolvers
the front and rear shocks are ranch RS5034 34" extended and 20" compressed!, the rears are mounted to the axle just inside of the leafs and about 1 1/2" apart at the top on a custom made brace that goes from frame rail to frame rail, the fronts have a custom top mount that is about 6" taller above the frame than stock and go all the way down to the axle
the T-Case has 6.5/1 gear from Low Range(very very inpressed with these) and custom solid mount that seems to be everything I hoped for... Bomb Proof!
Petroworks Heavy Duty dual friction clutch and pressure plate from Low Range... works Great
the motor is stock for now asides for GM alternator, new valve cover gasket, plugs, wires, cap, rotor
Made a custom front bumper for my Ramsey 9000 platnium to set on (only thing left to do to it is get a stinger welded on when my cage tubing shows up)
installed a deep cycle marine battery
mounted a 200 watt amp under the dash powering two 5 1/4" speakers in the kick panels and use my Iphone as a head unit
ripped out all the dash vent duct and the control head for the heater box... relocated the fan switch to the left side of the steering wheel and fixed all the arms so only the heat comes on with the fan in a mix of defrost and floor
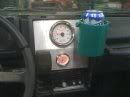
made a aluminum plate over the center trim bezel to mount a 3 3/8" tach and a 2" oil pressure gauge and also a beer/cup holder that's made for a boat and completely swivels (that way when I...notice I sad When not IF.... roll over atleast I wont spill my beer!!
put a Citizens Band, CB, radio in the stock radio location
threw a set of old high back vinyl seat that I found in the barn up front
Took the back seat that I still had lying around from my old Jeep TJ tore it down and cut the seat frame down 5", then cut 5" out the foam and reinforced it, then re-sewed the cover.... made mounts kinda like stock TJ mounts are that makes it easily removeable and can fold up to the front seats making bed room
made a custom top the just goes from the windshield to the roll bar, kinda like a bikini top and it allows the doors to seal up nicely
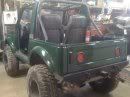
made a custom rear bumper with two tie points (3/8" plate) and a class 3 hitch and a custom quick change flag hoolder
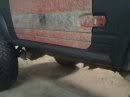
Oh and I almost forgot about the rock sliders, the are 2"- 3/16" wall tubing with 3/16" plate at about a 30 degree angle all welded and tied in
Now as soon as my cage tubing shows up and I get it fabed up and welded in the project should be COMPLETE!!!! for now atleast! yeah right LOL